Appearance
OmniLux Overview
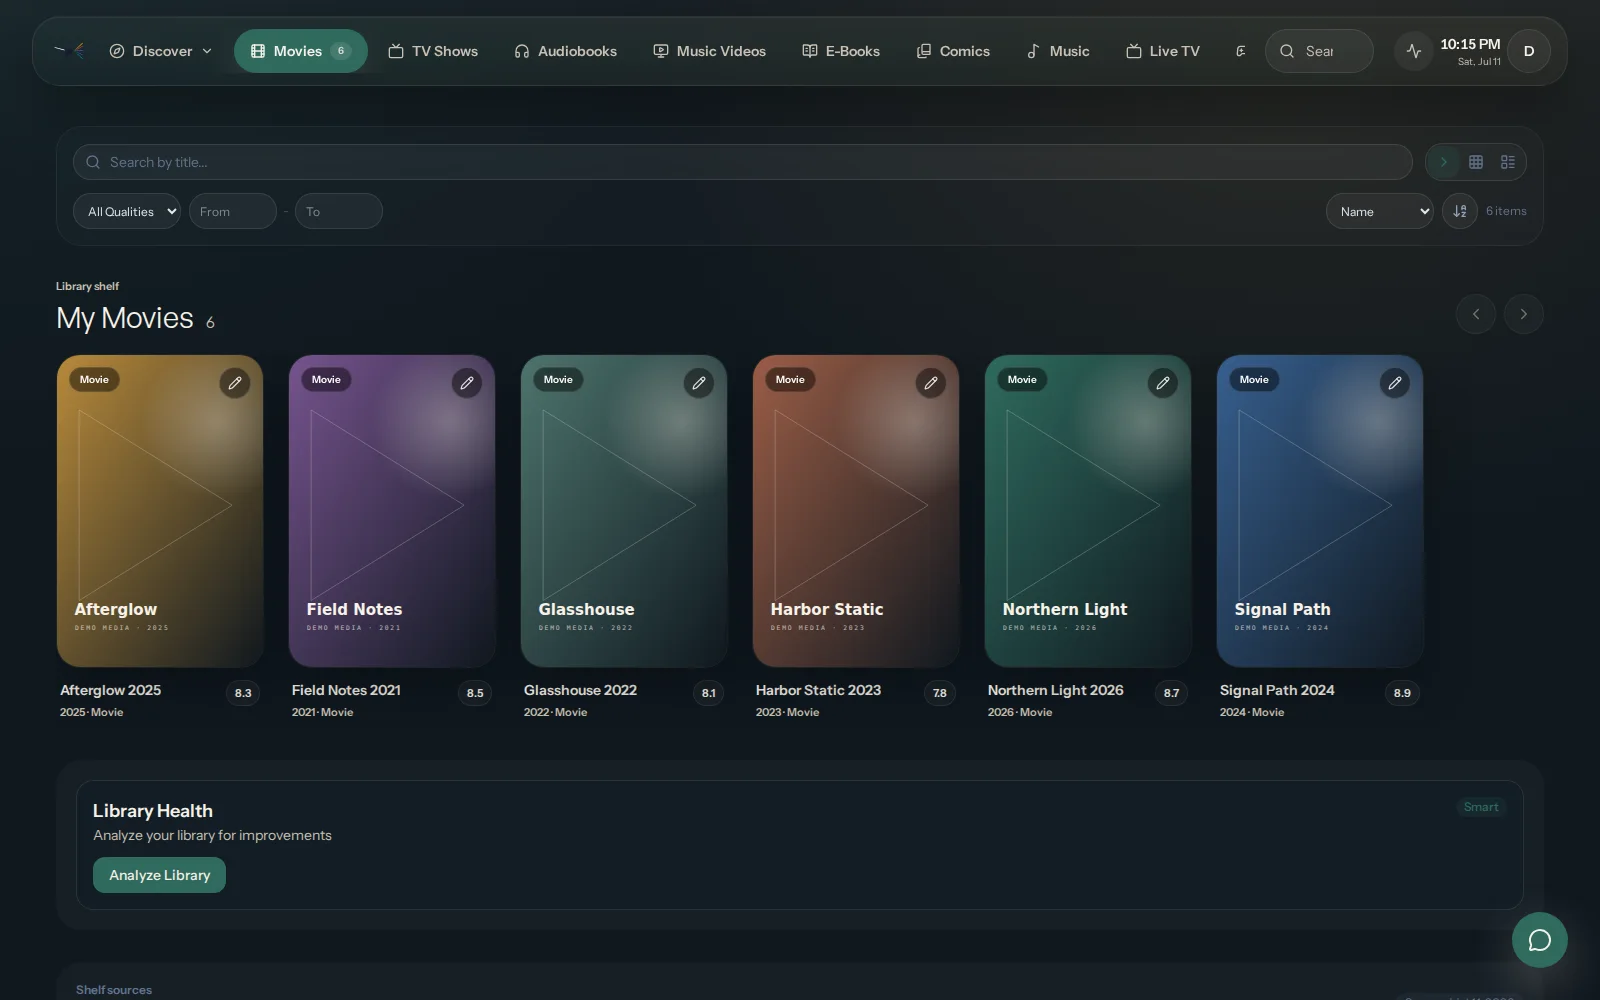
OmniLux turns the media you own into one polished household library on a server you control. It scans and enriches that library, makes it easy to browse and search, and serves playback directly to the local browser.
Plex, Jellyfin, and Emby are optional comparison and migration sources. None is required for OmniLux to run.
The product foundation
Your OmniLux server does the work that matters at home:
- reads the media folders you choose;
- stores metadata, settings, cache, and playback state separately;
- presents search, discovery, and playback in the local browser; and
- remains useful without another media server underneath it.
An OmniLux account can add account-linked conveniences when they are available, but it does not replace the local server or make direct local playback dependent on the cloud.
What the private beta is proving
Private beta
The current product path focuses on a standalone server, a read-only library scan, and first playback in the local browser. Participation and release access are reviewed.
The private beta is deliberately narrower than the full product direction:
- Private beta: local setup, library browsing, search, progress, and browser playback on approved releases.
- Planned: guided migration, broader household sharing, OmniLux-managed relay, and native TV and mobile apps.
- Unavailable: public installers and paid checkout while release review is in progress.
The public roadmap shows direction and dependencies. It is not a release promise.
Choose your next step
- Understand ownership: How the OmniLux System Works
- Use your library: Libraries and Metadata
- Compare another server: Migration and Coexistence
- Check availability or apply: Private beta guide
The Private Beta Guide is the single source for current distribution and participation details. Account approval alone never replaces a current approved release notice.